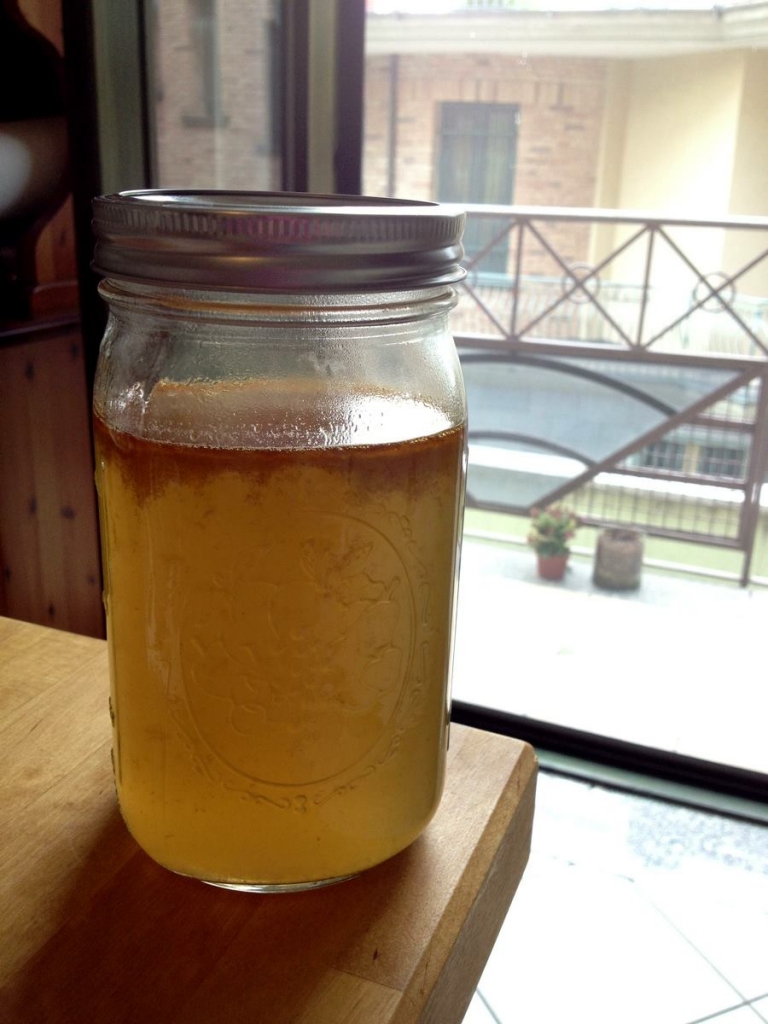
Kombucha 101 – Fermented Sweet Tea

If you have found my Kombucha 101 page, you may have heard me talking about the concept of making fermented sweet tea with a SCOBY (Symbiotic Colony of Bacteria and Yeast).  Kombucha tends to come up in many of my conversations with my friends, because I am excited about it!  Most people do not ferment their beverages anymore.  However, for centuries, traditional cultures have fermented their drinks and their food in order to increase the nutritive value and to protect the food from the wrong bacteria and yeast.


If you have plenty of the right bacteria and yeast, you decrease the chances of your food having the wrong kinds of bacteria and yeast.
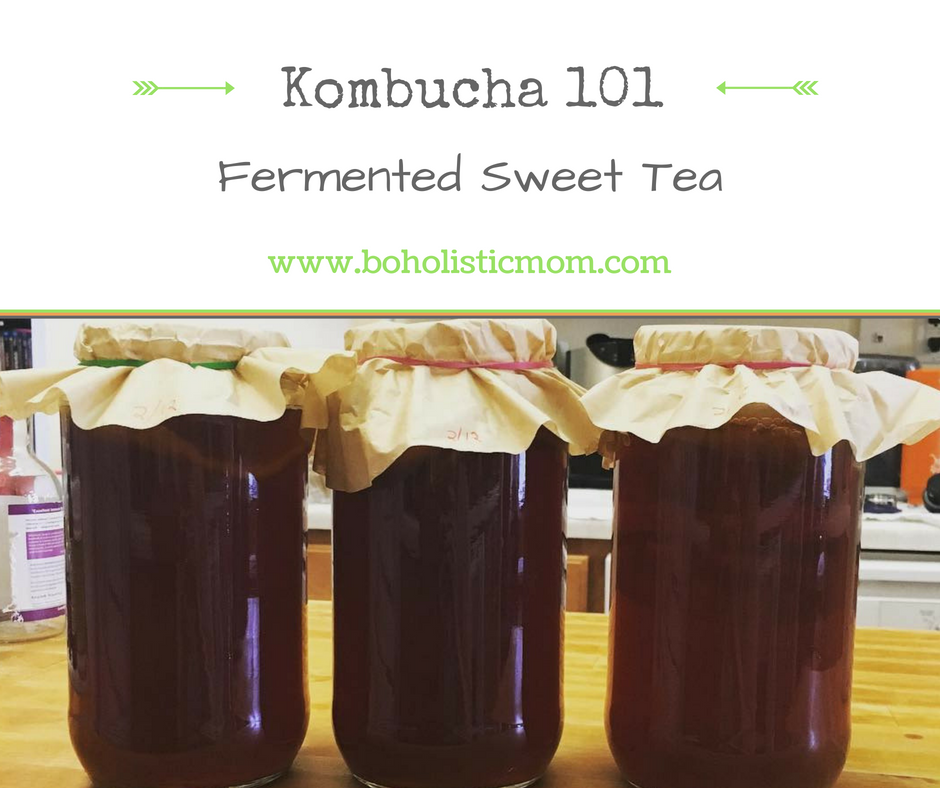
Kombucha 101

How I Started my Kombucha Obsession

I have now been making kombucha for four going on five years.  My first SCOBY was given to me by a sweet friend (at the time, barely acquaintance) Claude while I was living in Italy.  I took the slick round mass of bacteria and yeast that she gave me and made up a batch of sweet tea.  I laid the SCOBY on top and waited!  It was fantastic being able to make my own fermented tea.

Why I Continue My Kombucha Obsession

If it was all about making some slightly vinegary tasting tea, then I would not have continued drinking or making fermented sweet tea.  Kombucha is so much more than a simple enjoyable drink.  Check out the amazing benefits below:

  • Immune boosting –> Jam packed with anti-oxidants
  • Contains glucaric acid –> Very important for healing common malformations of cells
  • Detoxes the body while supporting the liver
  • Filled with glucosamines –> Important for joints and arthritis
  • Contains gut healing probiotics

All sorts of fermented drinks have […]

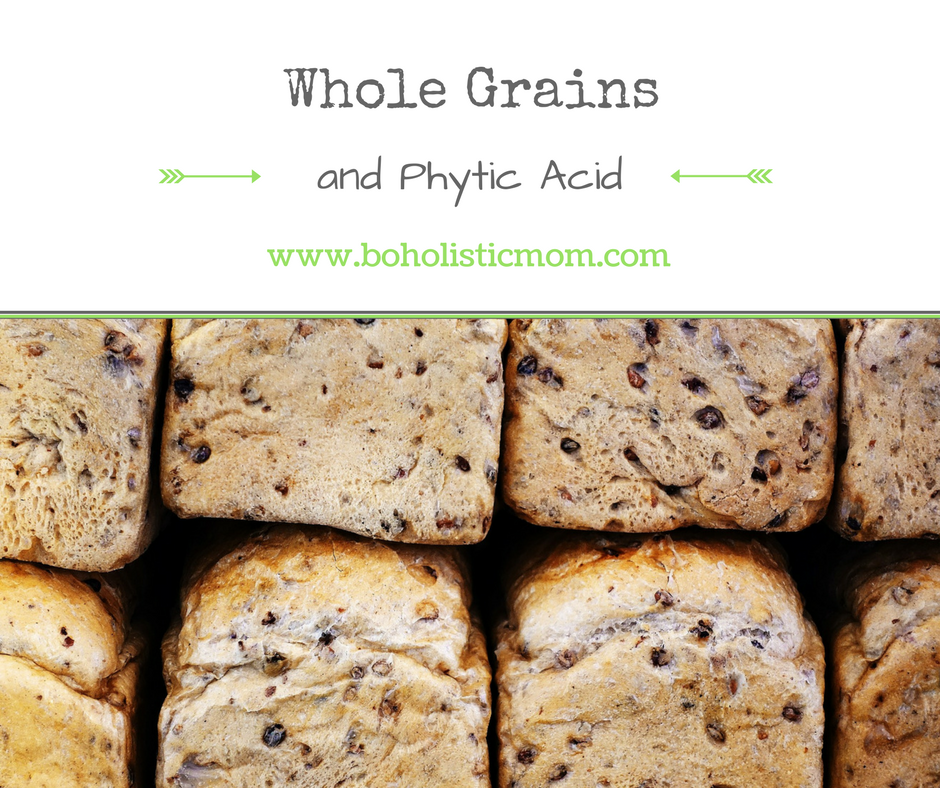
Whole Grains and Phytic Acid – Process grains naturally

How to process whole grains naturally

Whole Grains: Good or Bad?

In reaction to the over-processed, nutrient-deprived grain products that fill our supermarket shelves, many families have returned to using whole grains. Whole grains are what our ancestors used before we reinvented food to what you see today. So shouldn’t this return to the past be great?

Yes, but we are missing a pivotal step.

Whole grains are what our ancestors used, but we have lost the skills that allow us to naturally process the grains so that our bodies properly utilize the nutrients in the grain. Even our ancestors “processed” the grain before eating it. They didn’t use heat, machines, and extruders; instead they used God’s natural fermentation process to help release the nutrients from the grains.

Grains naturally contain phytic acid, a nutrient blocker. This phytic acid keeps the grains safe while going through the intestinal track of animals so that the seeds can travel to new places to be reintroduced to the ground. However, this is bad news for humans. We want to gain nutrients from the grain and this phytic acid blocks the absorption of magnesium, calcium, zinc, and other essential nutrients.

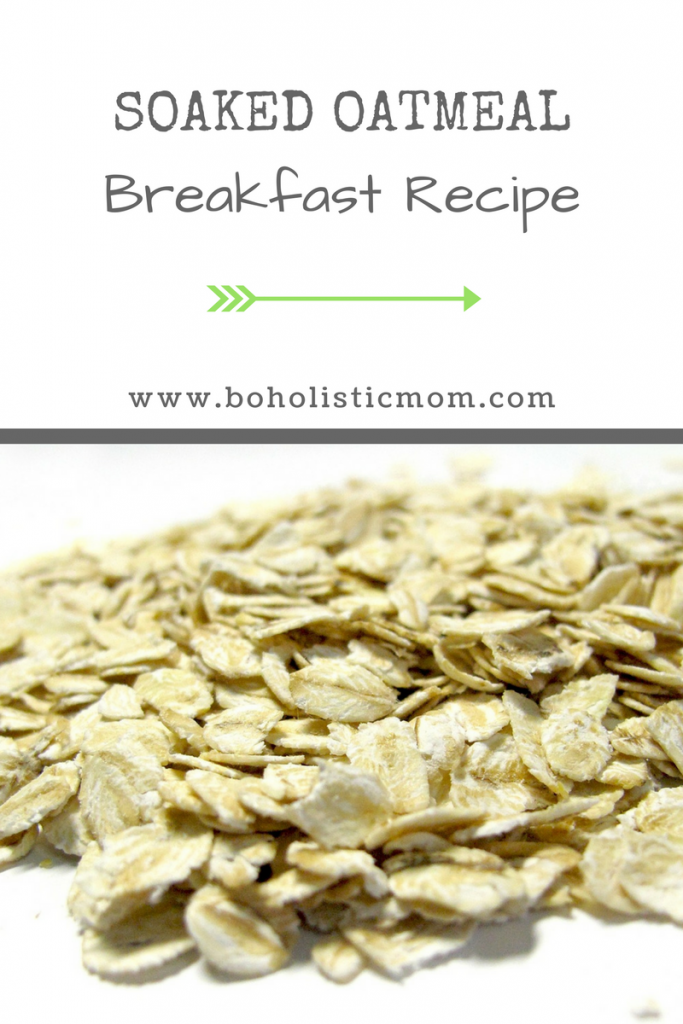
Therefore, we need to soak and ferment our grains (including seeds and beans) to decrease the phytic acid before we consume them. For oatmeal, this can involve taking 2 cups of oats, 4 cups of warm water and 2-4 tablespoons of whey, yogurt, or buttermilk and soaking them for 7 to 24 hours. Other grains can be soaked in other methods to get rid of the phytic acid.

Do you have any questions about soaking, fermenting, or phytic acid?

How to soak oatmeal

More about Delicious Bone Broth – Troubleshooting

Past the Fundamentals of Bone Broth

In 2014, I wrote a post covering all the fundamentals of making –> bone broth.  Since that time, I’ve learned even more about bone broths, stocks, and meat broths.  If you are just getting into bone broths you may want to start at my basics of bone broth post.  However, if you are ready for some more bone broth knowledge, read on.


Bone Broth Troubleshooting - Boholistic Mom

Gelatinization

One of the goals of making a true bone broth is gaining the gelatin from the bones.  Gelatin, as mentioned in my other broth post, improves collagen status, thus supporting skin health and supports digestive health.1  The structure of the gelatin is what makes the bone broth “gel.”  When the broth has been adequately simmered and the nutrients have been pulled from the bones, beef broth and chicken broth should become somewhat solid when cooled.  Think jello.

If your broth does not “gel,” you may not be gaining the gelatin that you desire.  Heat and lack of nutrients are the two primary causes for bone broths not becoming solid in the refrigerator.  If you boil your bones rather than simmer them gently, you will break down the gelatin.  Let me be very clear.  When your food is overheated and processed, your body cannot absorb the broken down nutrients.  Our food contains the building blocks for our health.  Take care with the building blocks as you reheat your food and when you simmer your bone broth.

Gelatin can become broken down if heated too high for too long.

The other reason that your broth may not gel is due to lack of gelatin in your pot.  If you do not […]

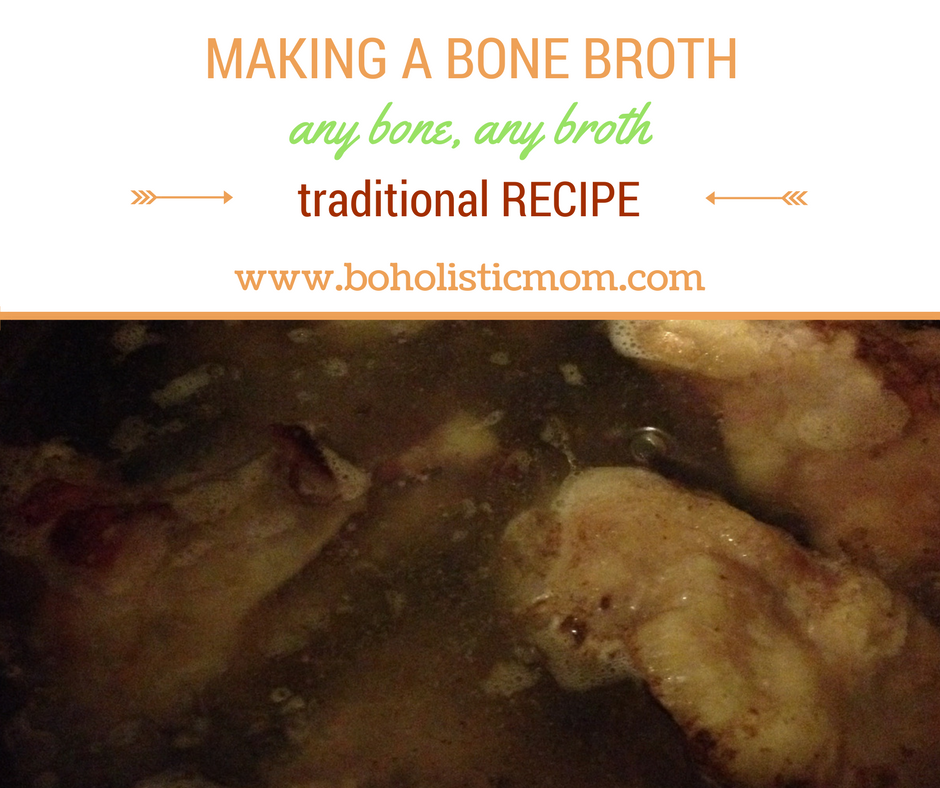
Making a Bone Broth

 Making a Bone Broth

When considering real food and traditional foods, the journey cannot truly begin without the basic knowledge of bone broth.  Our ancestors could not have survived without broth (or stock) and many traditional cultures used broths as the fundamental building block for many recipes.  Only within the last 100 years has broth become a thing of the past being replaced by broth in a carton, can, or even worse broth by bouillon cube.  The flavors of soups, curries, and other recipes have suffered from the loss of knowledge about traditional broths and many households no longer recognize the authentic taste or texture of an authentic broth.

Traditional Bone Broth RecipeWhat is Bone Broth?

“Broth (or stock) is a mineral rich infusion made by boiling bones of healthy animals with vegetables, herbs and spices.”1 Broth is a highly nutrient dense super food!

Why Bone Broth?

What doesn’t bone broth have?  As I researched the benefits and the mineral properties of bone broth, the information regarding the benefits were extensive.  Here are a few basic “why’s” to bone broth:

  1. Calcium2 – important for strong bones and teeth
  2. Magnesium2 – vital for many needed inner processes including calcium management
  3. Glycosaminoglycans2 – important for connective tissues, tendons, and joints
  4. Phosphorus – Bones are made of calcium and phosphorus7
  5. Amino acids proline – “vital for healthy connective tissue (ligaments, joints, around organs, etc)”1
  6. Amino acids glycine – “plays extensive roles in digestive health, proper functioning of the nervous system and in wound healing” and “Glycine is […]

Use the Entire Chicken in Four Steps – Boholistic Mom

Using the Entire Chicken

Traditionally, in order to eat chicken a person would take an entire chicken that had lived in their yard or farm and kill it.  They wouldn’t have just cut off a breast and left the rest.  The chicken would have eaten grubs from the ground, weeds, grass, seeds, and insects.  It had the freedom to move about the yard and farm without having to step on its own feces.  When the owner was ready to eat the chicken, the chicken would have been killed by removing their heads and it would have been prepared to be eaten.  The entire chicken was then used for food.

Eat Traditional Chickens

Today, chickens are raised in massive factory farms.  The chickens are shoved together into a small space, where they step in each others feces, cannot stretch their wings, or even go for a walk.  They lead stressed lives in extreme captivity.  Some of these birds will not live long enough to become a meal.  They are systematically and brutally herded into trucks then taken to slaughter houses.  They are then slaughtered, plucked, the necks are removed, the feet removed, and their insides are gutted.  The entire chicken will not be used by a family.  Each of the pieces end up in a different place.  Most families will never use the chicken feet (that are a great source of gelatin), the chicken livers (that are a great source of iron and Vitamin A, all the Vitamin Bs, and folic acid), or the chicken bones (that have vitamins and minerals that are perfect for growing families).

What nutritional value is actually […]

Simple Chicken Curry

Make a chicken curry in a hurry

Simple Chicken Curry

I absolutely adore curry.  I used to think that curries were hard things to make and very complicated . . . until I realized that they were simply a method of adding ingredients together in a certain order.  Use these ingredients or switch it out to other similar ingredients.  You are the artist in this kitchen.  I hope you enjoy your chicken curry and whatever other curry you dream up!

Ingredients

2 tablespoons Olive Oil, Coconut Oil, or Ghee

1 Large Onion

1-2 Cloves of Garlic

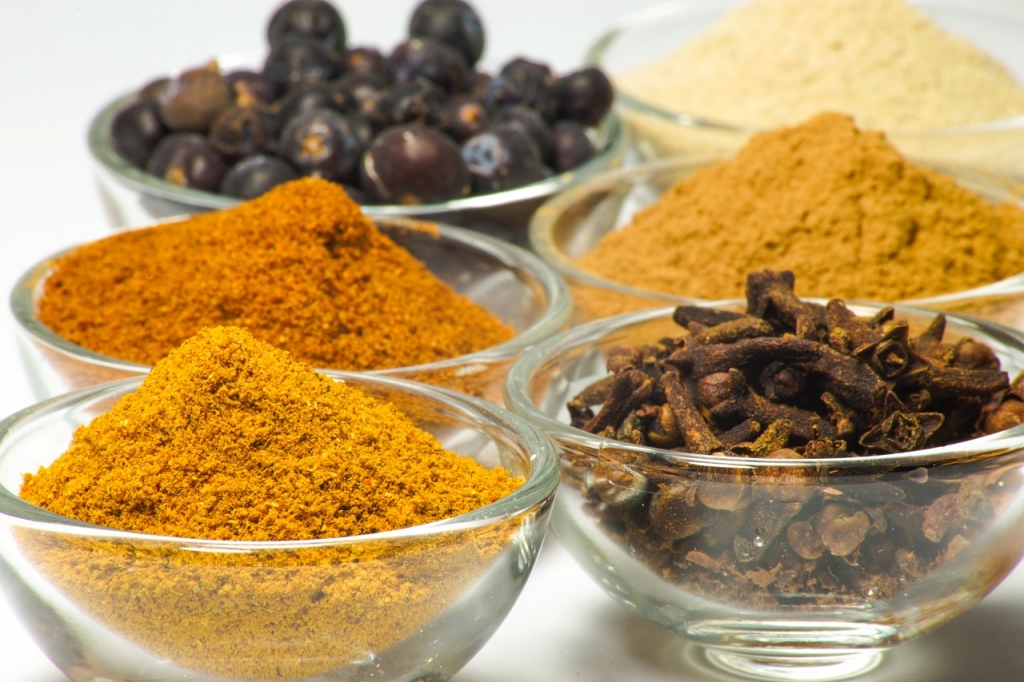
1 – 2 tablespoons Yellow Curry Powder 

1 cup of Organic Yogurt

1 – 2 cups of Chicken Broth and/or Coconut Milk

2 tablespoons of Peanut Butter or Almond Butter

Leftover Chicken Meat

1 teaspoon of Raw Apple Cider Vinegar

Sea Salt (as needed)

Bay Leaf (optional)

Preparation for Chicken Curry

  1.  Sauté on medium heat the onions in 1 tablespoon of oil.
  2.  As the onions begin to get transparent, add the garlic.
  3.  When the onions and garlic are almost fully cooked, add 1 -2 tablespoon of Curry Powder (more or less, to taste).
  4.  As the curry powder smell fills the air, begin to add in the yogurt.
  5.  The yogurt will release its liquid very fast and you will then add in the broth or coconut milk.
  6.  Let this cook down until the yogurt, curry, and broth are combined fully.
  7.  Add in the nut butter to thicken your curry.
  8.  Since your chicken meat is already cooked, add the meat in at this point to avoid overcooking.
  9.  As the chicken becomes warm and your curry thickens, add in the vinegar.
  10.  Serve in a bowl with Basmati rice, brown rice, or cauliflower rice.


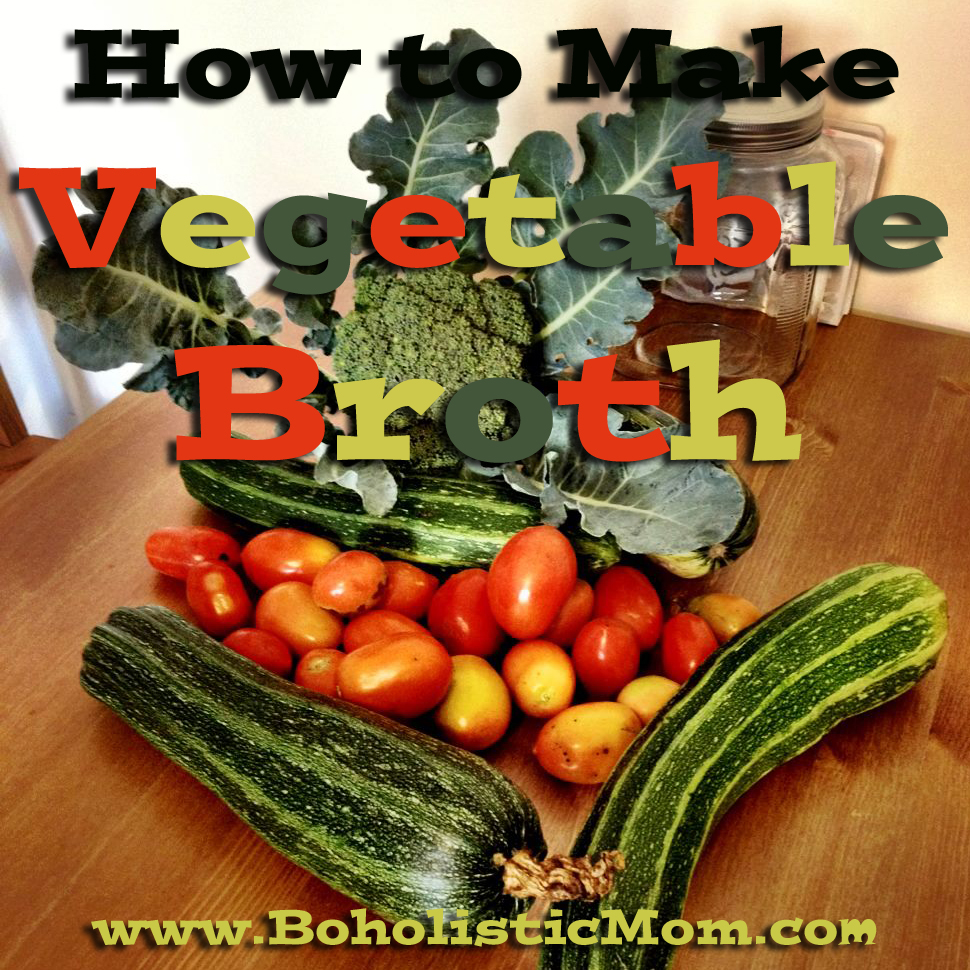
Vegetable Broth

 Vegetable Broth - Boholistic Mom

2 Carrots

2 Onions

2 Garlic Cloves

2 Celery Stalks (fennel stalks will also work)

2-6 Tomatoes

Water (approximately 8 – 10 cups)

Other Vegetables (peppers, sweet potato, fennel, etc. as desired)

2 Bay Leaves

Organic Virgin Raw Coconut Oil, Extra Virgin Olive Oil, or Grass Fed Dairy Butter

Chop the carrots, onions, garlic, celery, and other vegetables into small pieces to maximize the surface area able to caramelize while sautéing the vegetables.  Take the carrots, onions, garlic, celery, and other vegetables and sauté in the bottom of your stock pot using the coconut oil, olive oil, or butter.  Sauté vegetables until they are browning slightly.  For larger vegetables, consider caramelizing the vegetables separately.   Add the water, the tomatoes, and the spices.  Bring the broth to a boil then lower to a simmer and continue to cook 2-3 hours.

Strain the broth into a large bowl.  Consider eating the vegetables that are left over from the broth or using them in another dish.

Drink the broth for a healthy snack or use in recipes to increase the nutrients in other recipes.  Freeze the broth to save for recipes and for times of sickness.  The vegetable broth can be kept in the refrigerator for 3 – 4 days or frozen for up to 3 months.

Vegetable Broth - Boholistic Mom

7 Tips for Full-Flavoured Vegetable Stock – Stone Soup

Homemade Vegetable Stock – Martha Stewart

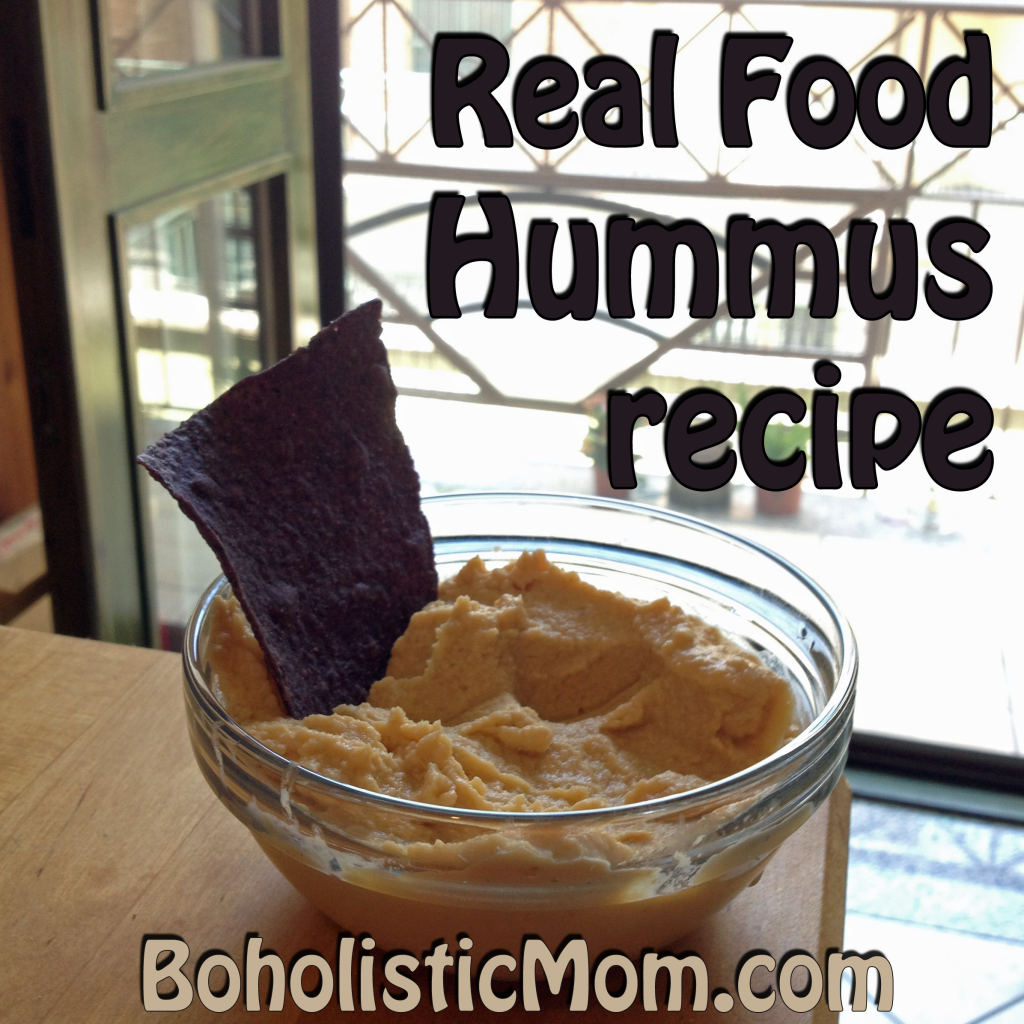
Real Food Hummus: Fantastic Snack or Side

Real Food Hummus Recipe | Boholistic Mom

If you are searching for a recipe for real food hummus you have come to the right place.  Real food hummus is great; hummus is adequate, but not fabulous.  Considering hummus is so easy to make, why not make it fresh and as real as possible?  Try this real food hummus recipe and get your family snacking right!

Real Food Hummus

2 cups – Chickpeas, cooked or canned (or Garbanzo Beans)

1 tablespoon – Tahini (or Peanut Butter)

2 tablespoons – Extra-Virgin Olive Oil

1 small – Garlic Clove

1 small – Lemon, juiced

1/4 teaspoon – Salt

Pinch of Cayenne Pepper

Directions

Combine all ingredients in a food processor or a heavy duty blender.  Continue to blend ingredients until smooth.  Add extra olive oil to the bowl when serving, as desired.

Remember, a recipe is only as good as you decide.  If you want more garlic, add more garlic.  If you want more lemon flavor, add more lemon juice.  Tweak the recipe until it is your own and just the way you like it!

Possible Additions

2 tablespoons – Roasted Red Peppers

2 tablespoons – Italian Roasted Eggplant

1 teaspoon – Cilantro

1 teaspoon – Parsley

Add one of these additions to a batch of hummus to add a new kick to your hummus.

Additional Recipe Ideas

Hummus is all in the taste of the beholder . . . or at least of the one eating it.  If you don’t like my particular recipe, no problem!  Try making it another way and I’m sure you’ll find the combination you like.  Remember, if you don’t like a food one way, just keep trying.  You will find a way to […]